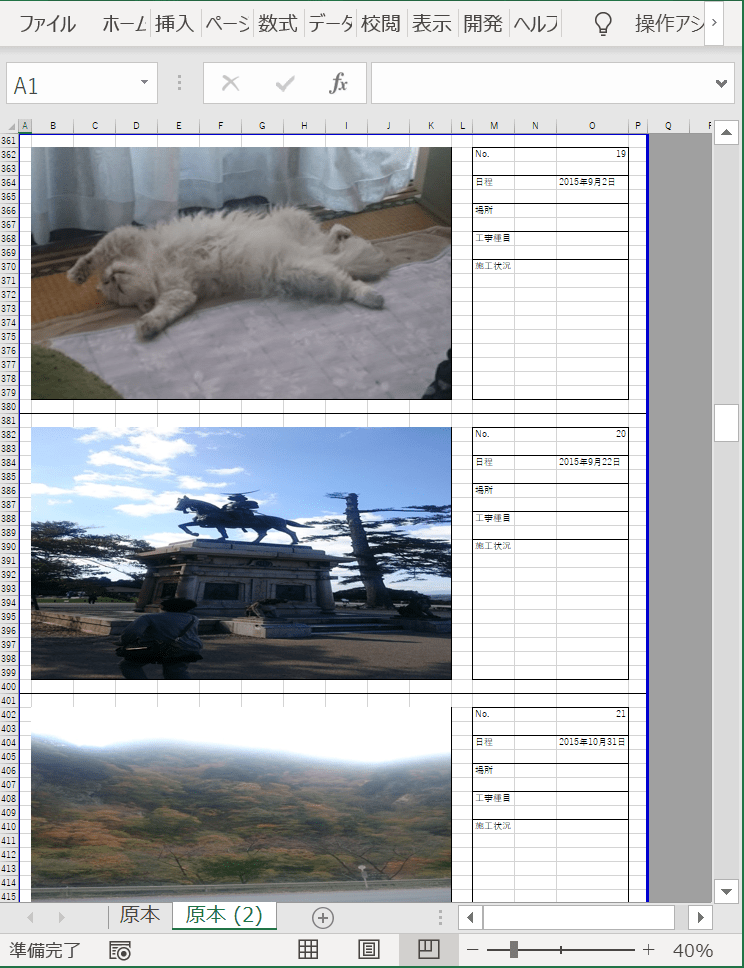
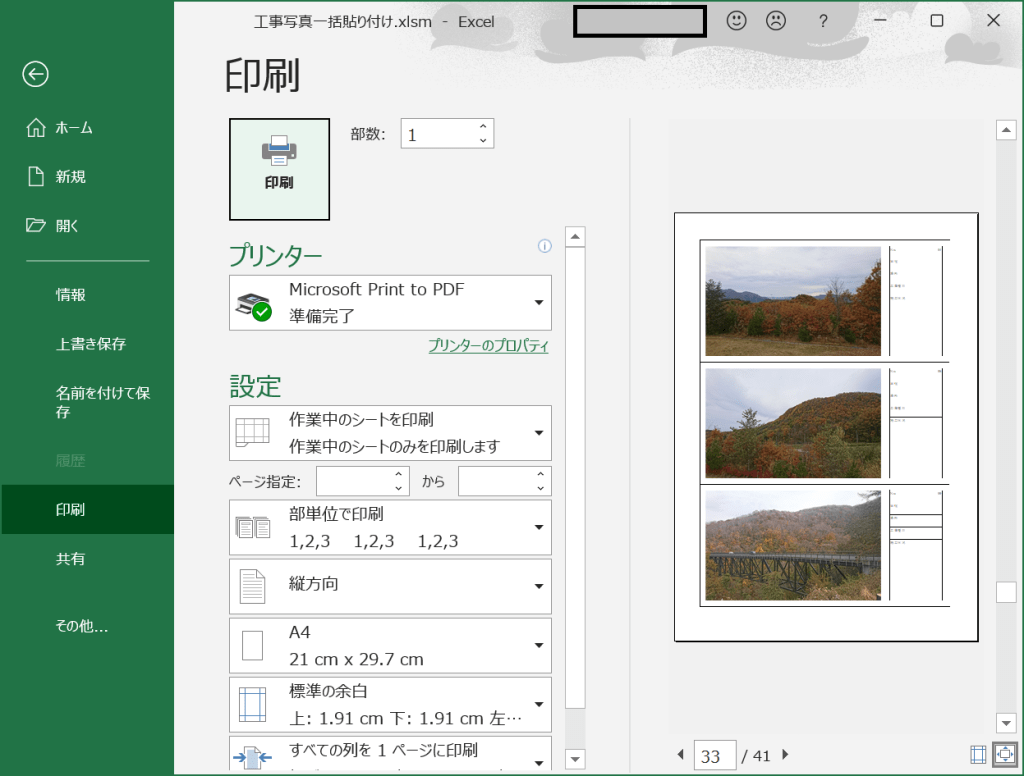
報告書の作成で写真を撮影した日にち取得する処理の説明を行います。
写真一括貼り付けの追加処理の内容
写真のデータから撮影日を取得してセルに設定しています。
変数の宣言
    Dim day As Date
    Dim ObjShell As Object
    Dim ObjFolder As Object
    Dim filePath As Variant
    Dim file As Variant
シェルの設定
Set ObjShell = CreateObject("Shell.Application")shellの設定でExcelからファイルの操作を行えるようにします。
ファイルのパスの取得
filePath = Left(fileName(i), InStrRev(fileName(i), "\"))ファイル名の取得
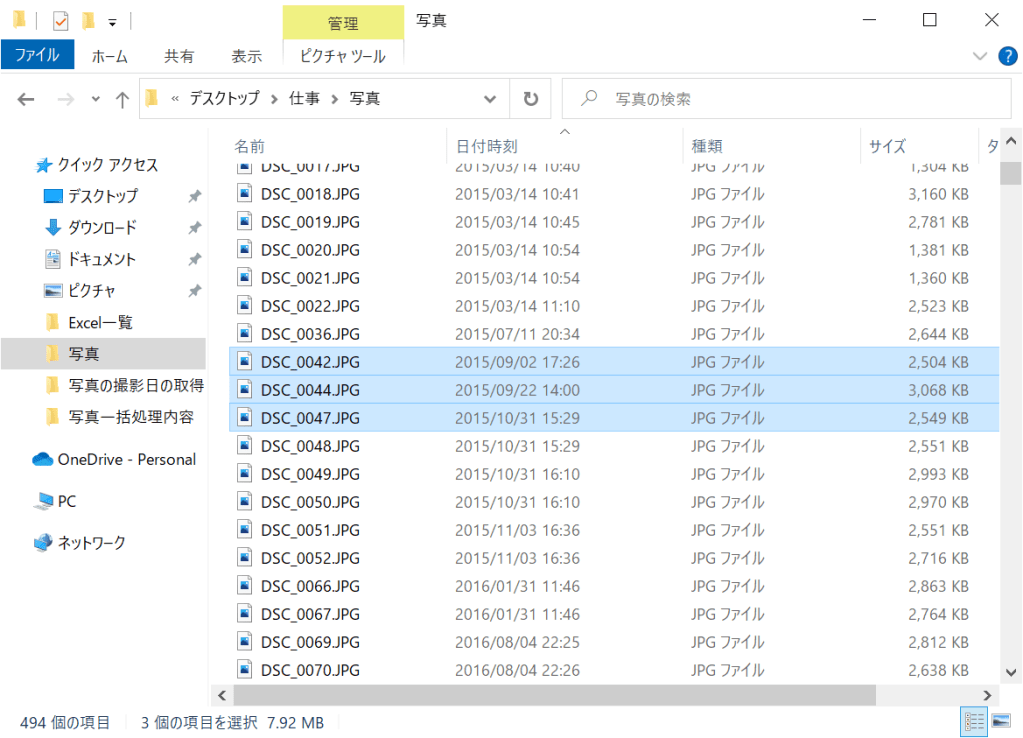
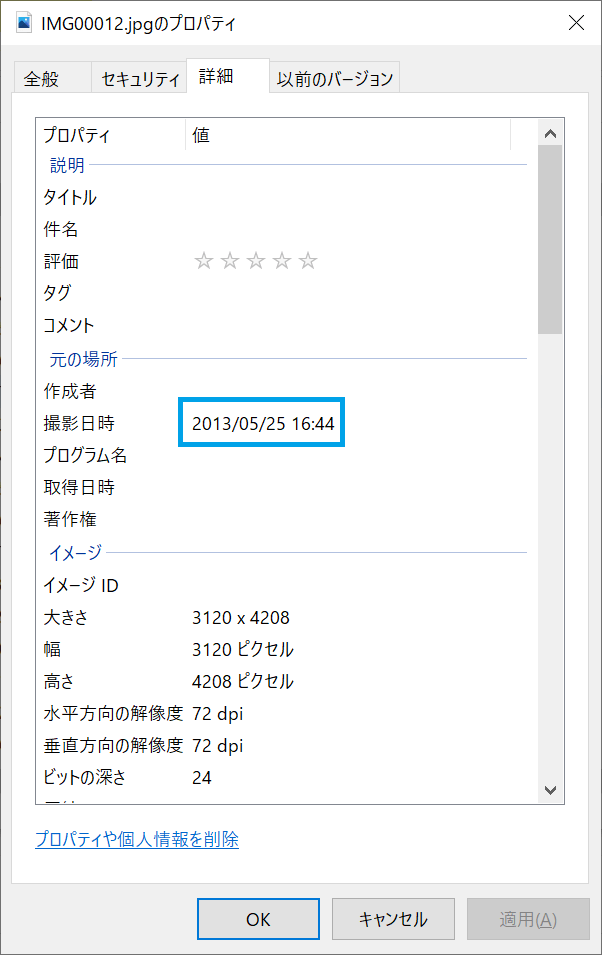
file = Mid(fileName(i), Len(filePath) + 1)例として、C:\Users\nekon\Desktop\仕事\写真\IMG00012.jpgの内容がfileName(i)に入っているとします。
fileName(i) = C:\Users\nekon\Desktop\仕事\写真\IMG00012.jpg
ファイルパスの取得は右から”\”の記号を検索して見つけた位置までの情報を設定しています。
InStrRev(fileName(i), “\”)で位置を検索して29の数値が見つかります。
Left(fileName(i), InStrRev(fileName(i), “\”))
Left(fileName(i), 29)になり
Left(fileName(i), 29) は C:\Users\nekon\Desktop\仕事\写真\ となります。
filePath = Left(fileName(i), 29)
filePath = C:\Users\nekon\Desktop\仕事\写真\
ファイル名の取得はfileName(i)からfilePathの内容を抜いた文字列を設定しています。
C:\Users\nekon\Desktop\仕事\写真\IMG00012.jpgから
C:\Users\nekon\Desktop\仕事\写真\を抜いて
IMG00012.jpgを設定しています。
写真データの参照
Set ObjFolder = ObjShell.Namespace(filePath).ParseName(file)
写真の撮影日を取得
day = ObjFolder.ExtendedProperty("System.Photo.DateTaken")写真のデータの参照を解放
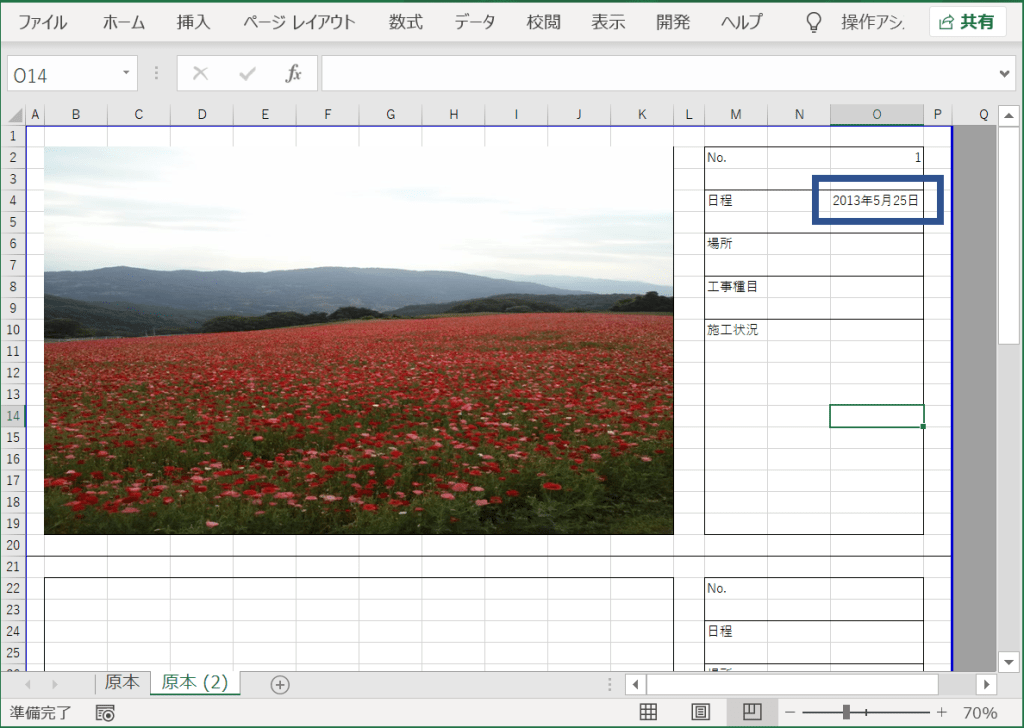
Set ObjFolder = Nothingセルに撮影日を設定
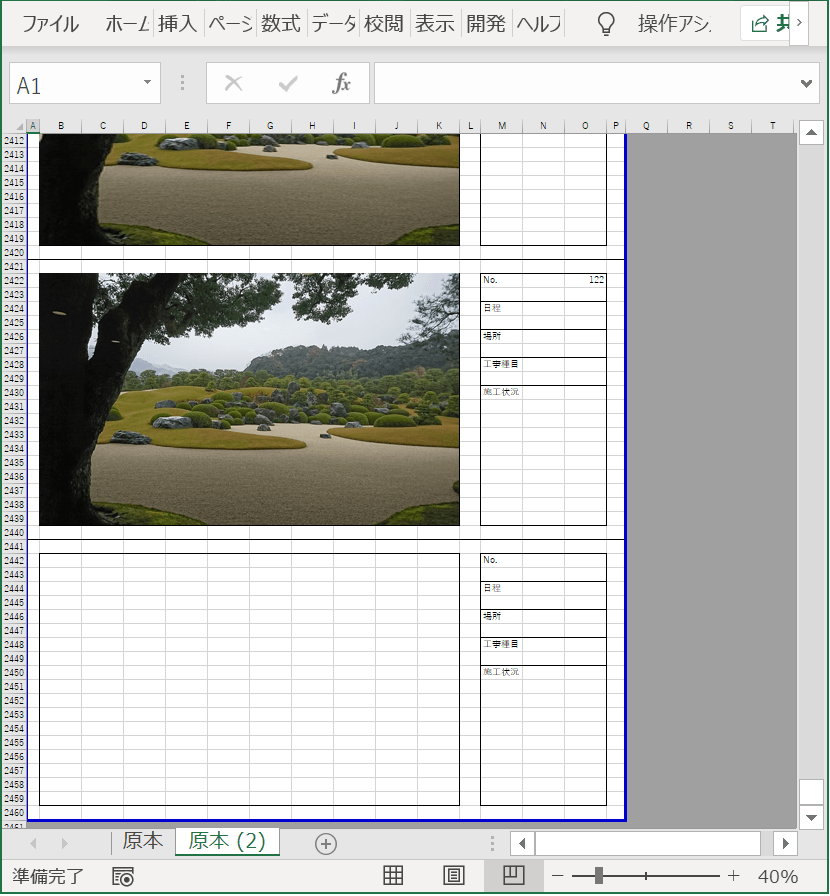
Cells(k + 2, j + 13) = Format(day, "yyyy年m月d日")
シェルの解放
Set ObjShell = Nothing写真一括貼り付け処理
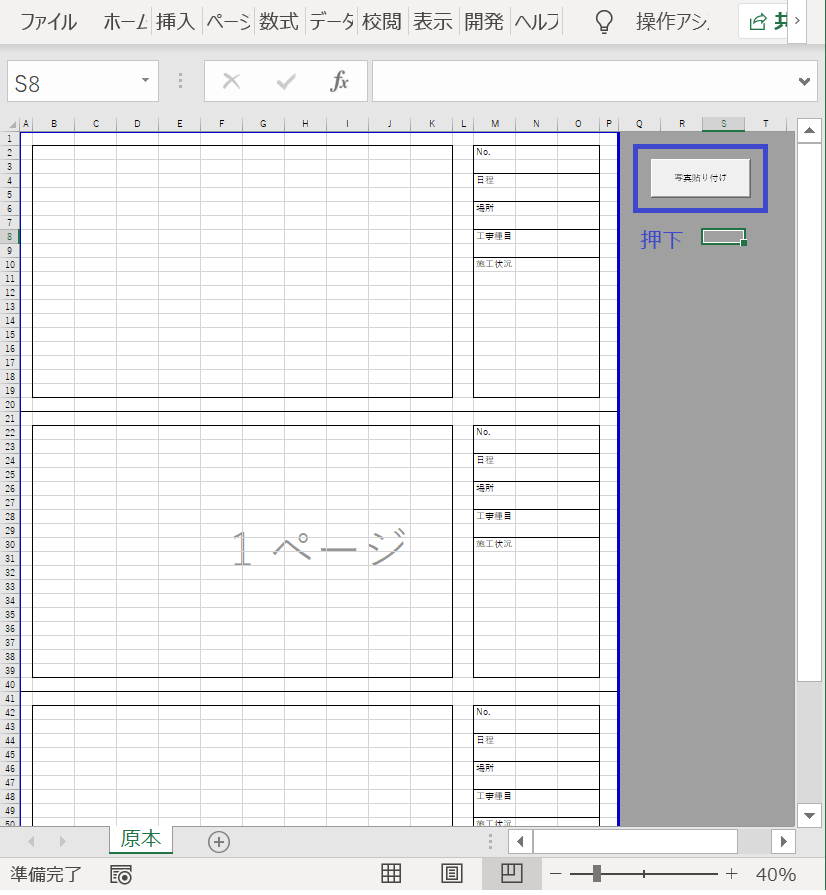
Sub 写真張り付け_Click()
'ループ関数を設定
Dim i As Integer, j As Integer, k As Integer
'写真の一覧を取得
Dim fileName As Variant
Dim dblscal As Double
Dim str As String
'←--------追加
Dim day As Date
Dim ObjShell As Object
Dim ObjFolder As Object
Dim filePath As Variant
Dim file As Variant
'---------->
Dim startTime As Double
Dim endTime As Double
Dim processTime As Double
fileName = Application.GetOpenFilename( _
filefilter:="画像ファイル,*.bmp;*.jpg;*.gif;*.JPG", _
MultiSelect:=True)
'画像ファイルを選択しなかった場合は処理を終わらせる
If Not IsArray(fileName) Then Exit Sub
'処理中画面描写をしない
Application.ScreenUpdating = False
'開始時間取得
startTime = Timer
'写真を貼る開始セルの列
j = 2
'写真を貼る開始セルの行
k = 2
'印刷範囲の初期設定
str = Range(Cells(1, 1), Cells(60, 16)).Address
'原本シートのコピーを末尾に追加
Worksheets("原本").Copy After:=Worksheets(Worksheets.Count)
'ボタンを削除
ActiveSheet.DrawingObjects.Delete
'←--------追加
'シェルの設定
Set ObjShell = CreateObject("Shell.Application")
'-------→
'取得した写真リストをセルに貼り付け
For i = LBound(fileName) To UBound(fileName)
If i <> 1 And i Mod 3 = 1 Then
Worksheets("原本").Range(str).Copy
Cells(k - 1, 1).PasteSpecial
Application.CutCopyMode = False
ActiveSheet.HPageBreaks.Add before:=Cells(((i \ 3) * 60) + 1, 1)
End If
'選択ファイル
With ActiveSheet.Shapes.AddPicture( _
fileName:=fileName(i), _
linktofile:=False, _
savewithdocument:=True, _
Left:=ActiveCell.Left, _
Top:=ActiveCell.Top, _
Width:=ActiveCell.Width * 10, _
Height:=ActiveCell.Height * 18)
'結合セルの大きさに設定する場合は下記の内
'Height:=ActiveCell.MergeArea.Height, _
'Width:=ActiveCell.MergeArea.Width)
End With
'写真の貼り直し
ActiveSheet.Shapes(i).Select
Selection.Cut
Cells(k, j).Select
ActiveSheet.PasteSpecial Format:="図 (JPEG)", Link:=False, DisplayasIcon:=False
Application.CutCopyMode = False
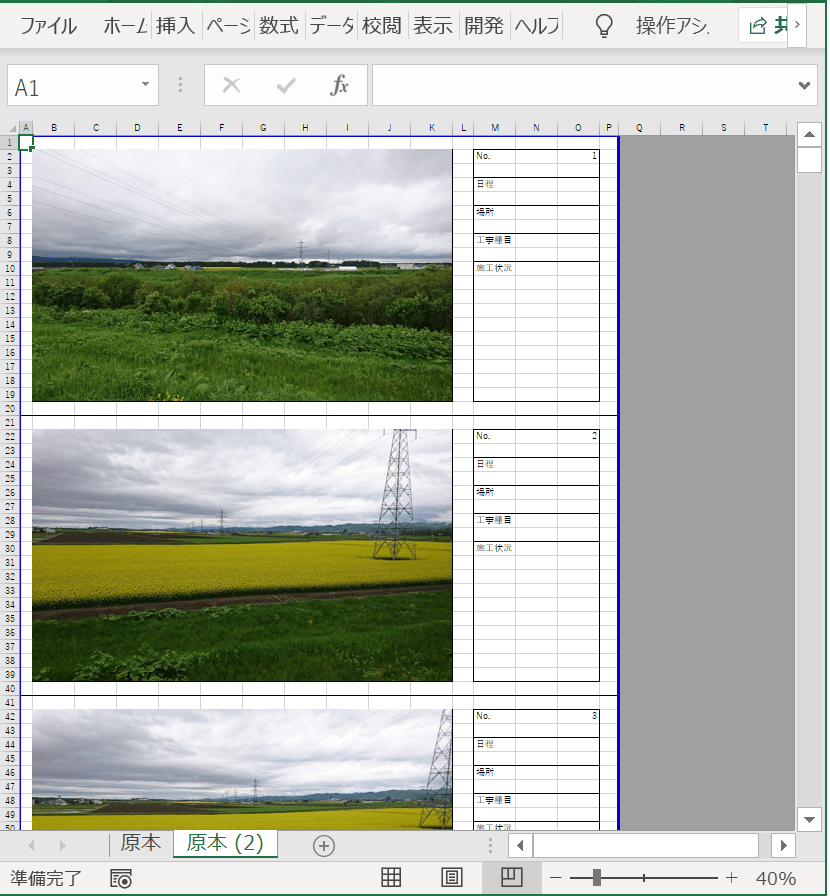
'Noに数を記入
Cells(k, j + 13) = i
'←------追加
'ファイルのパスを取得
filePath = Left(fileName(i), InStrRev(fileName(i), "\"))
'ファイル名の取得
file = Mid(fileName(i), Len(filePath) + 1)
'写真のデータを参照
Set ObjFolder = ObjShell.Namespace(filePath).ParseName(file)
'写真の撮影日を取得
day = ObjFolder.ExtendedProperty("System.Photo.DateTaken")
'写真のデータの参照を解放
Set ObjFolder = Nothing
Cells(k + 2, j + 13) = Format(day, "yyyy年m月d日")
'-------→
'次のセルの位置を設定する
k = k + 20
Next i
'←--------追加
'シェルの解放
Set ObjShell = Nothing
'-------→
i = i - 1
k = k - 20
Select Case i Mod 3
Case 1
str = Range(Cells(1, 1), Cells(k + 58, 16)).Address
Case 2
str = Range(Cells(1, 1), Cells(k + 38, 16)).Address
Case Else
str = Range(Cells(1, 1), Cells(k + 18, 16)).Address
End Select
ActiveSheet.PageSetup.PrintArea = str
'写真のズレを修正
ActiveSheet.Shapes.SelectAll
Selection.ShapeRange.LockAspectRatio = msoFalse
Selection.ShapeRange.Height = Cells(2, 2).Height * 18
Selection.ShapeRange.Width = Cells(2, 2).Width * 10
'終了時間取得
endTime = Timer
'処理時間表示
processTime = endTime - startTime
MsgBox "処理時間:" & processTime
Cells(1, 1).Select
'画面描写を実行
Application.ScreenUpdating = True
End Sub写真一括貼り付けの撮影日を取得の処理内容の説明でした。
次回はさらに機能の追加を致します。