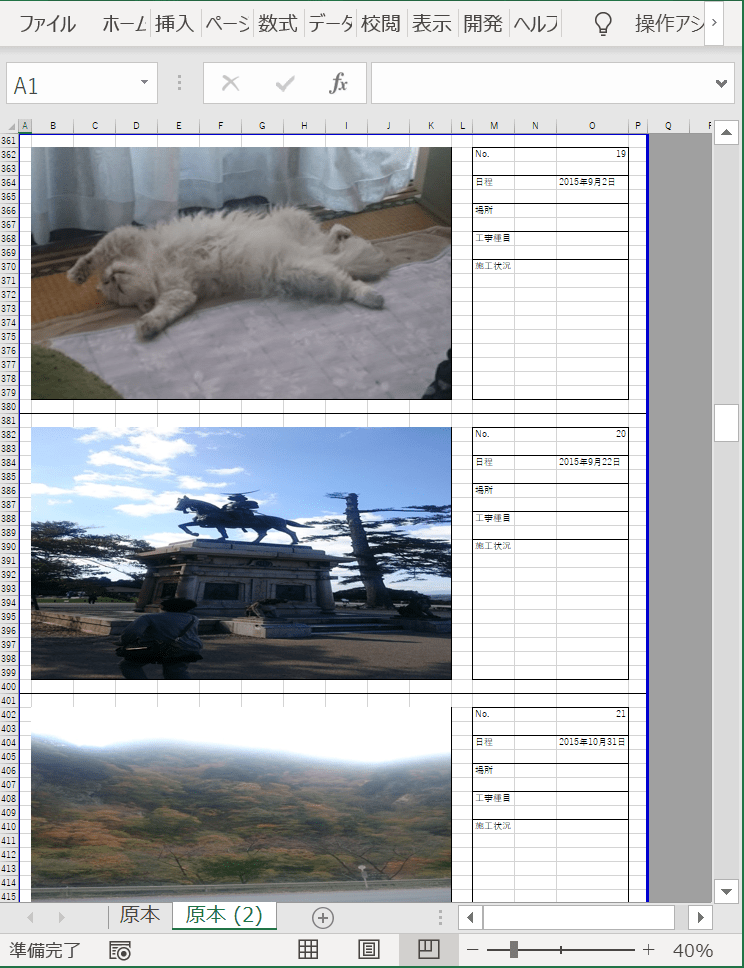
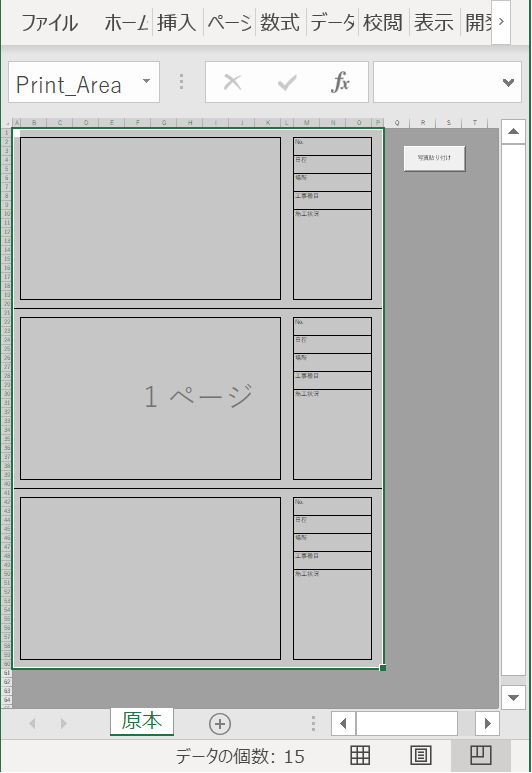
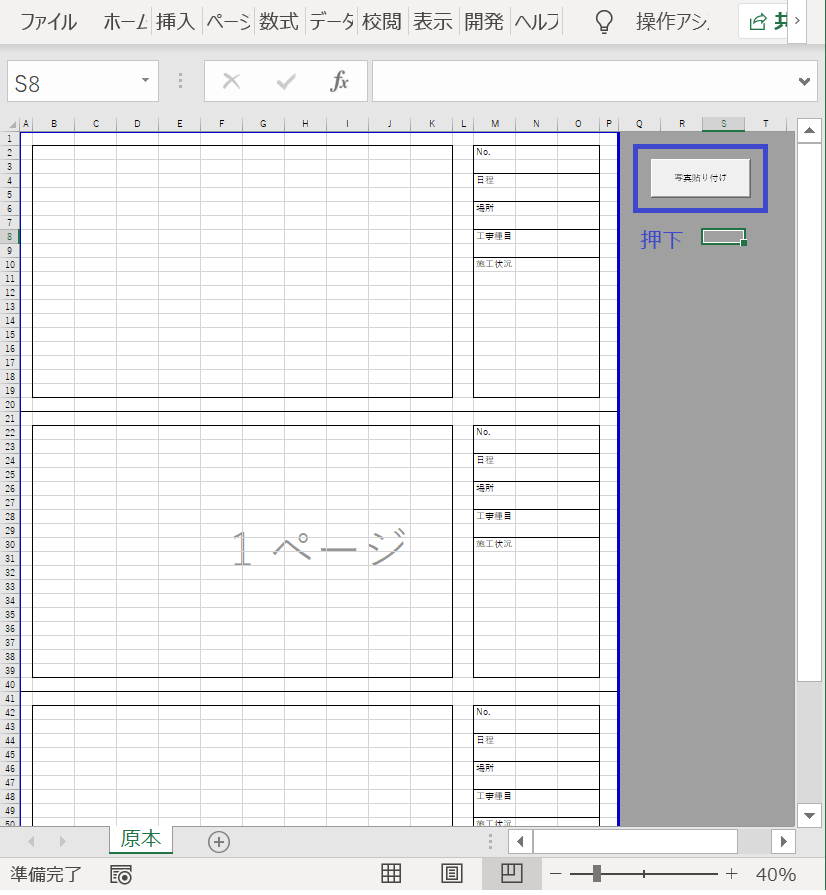
写真の縦横比を固定した状態で結合されているセルに、一括で写真の貼り付けを行う処理を紹介します。
ボタン押下時の実行内容
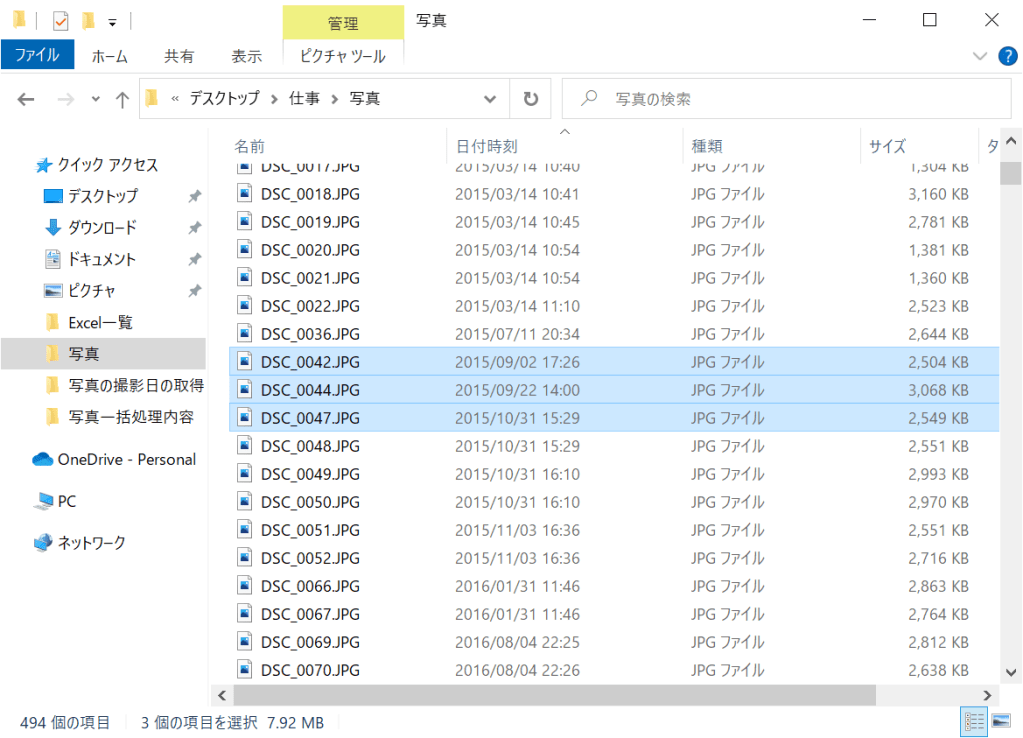
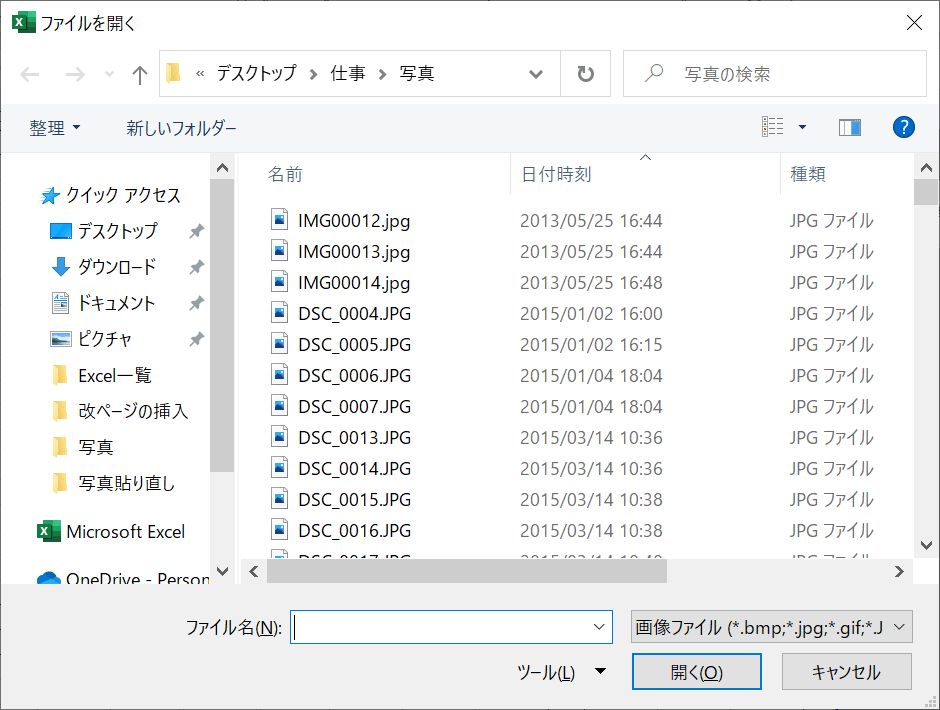
・貼り付けたい写真の一覧を選択
・印刷範囲を設定しながら写真を指定の位置に貼り付け
前提条件
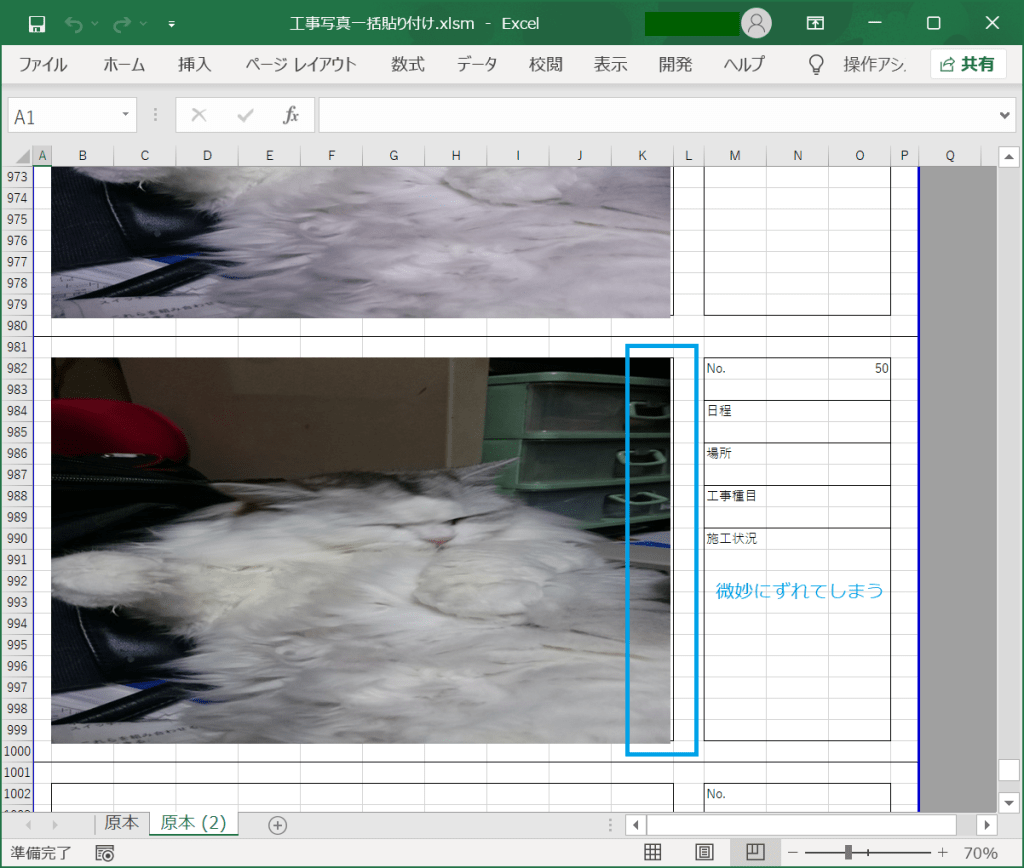
選択された写真は結合したセルに貼るように処理をしています。
結合したセルの大きさに合わせて写真の位置調整を行っているため、セル結合がされていない箇所に写真の貼り付けを行うと警告を返すようにしています。
セルが結合していないパターンで写真を貼り付けを行いたい場合は、写真の一括貼り付けVBAをご参考願います。
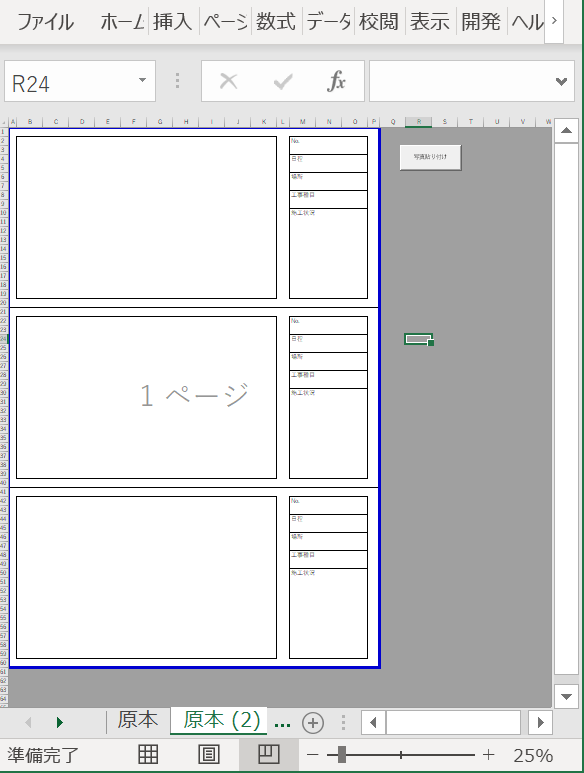
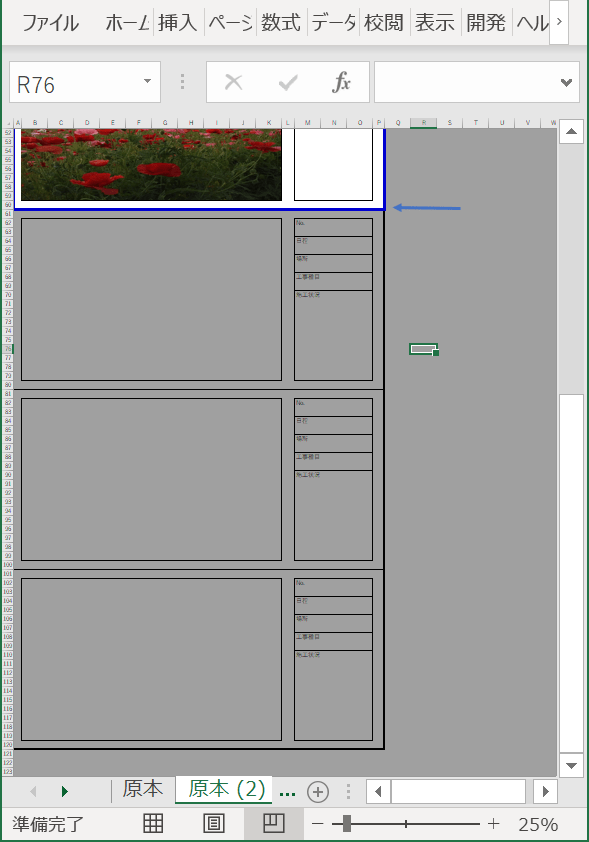
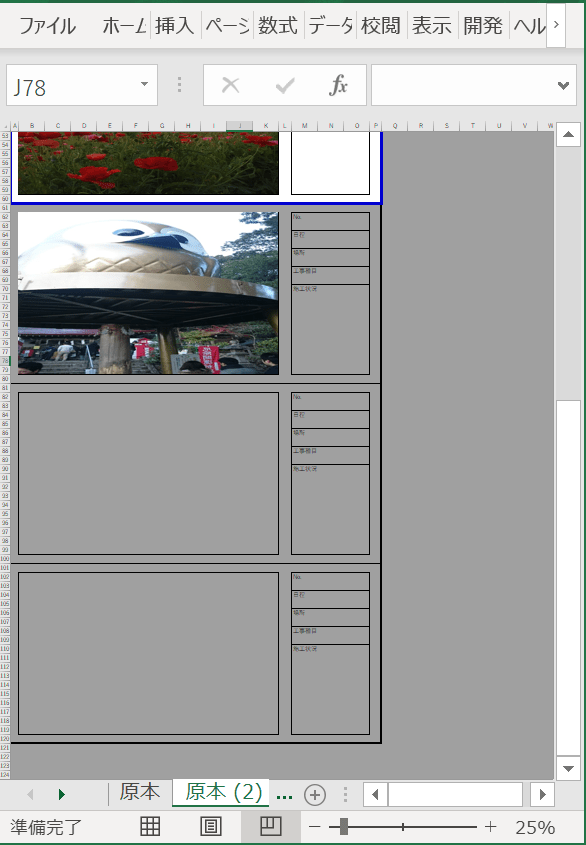
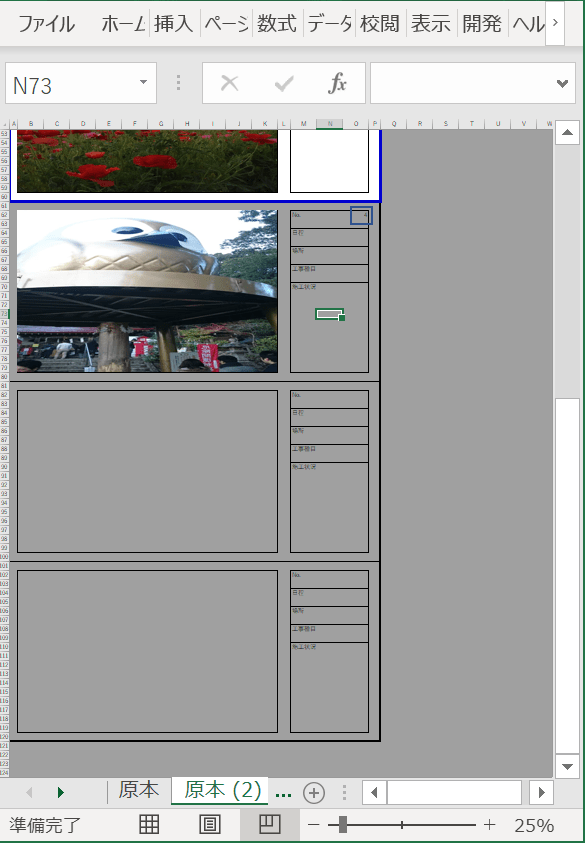
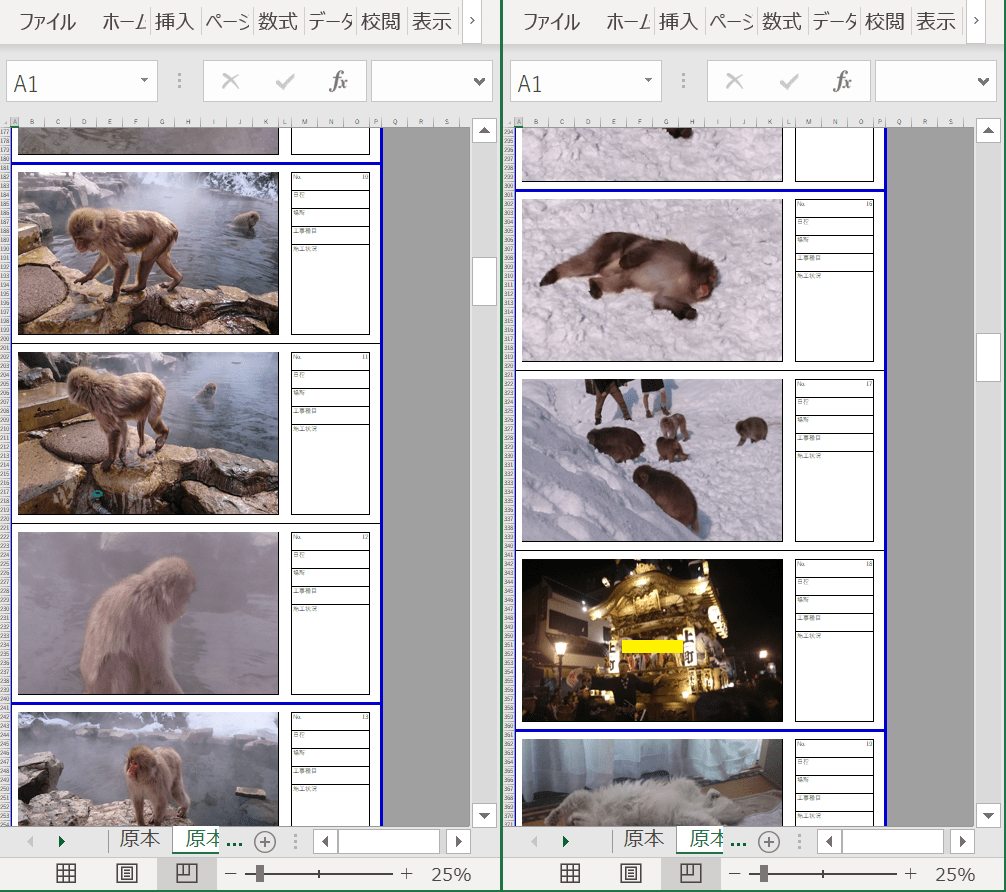
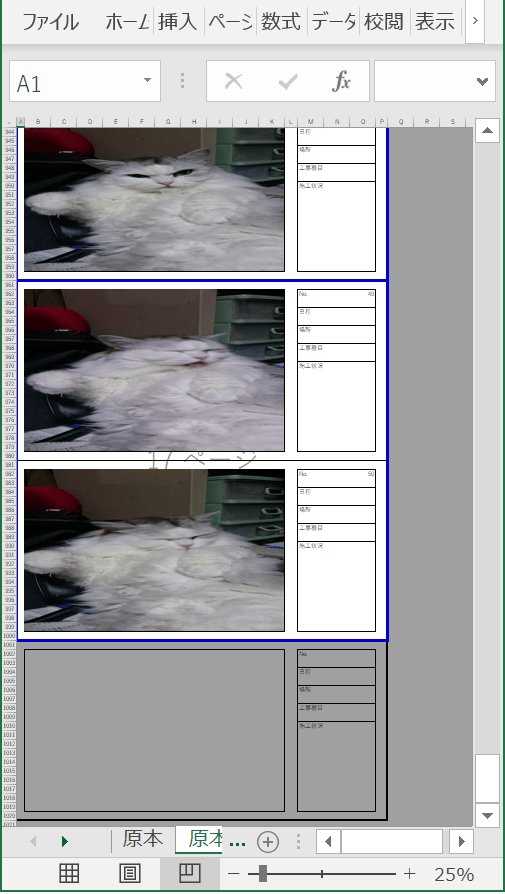
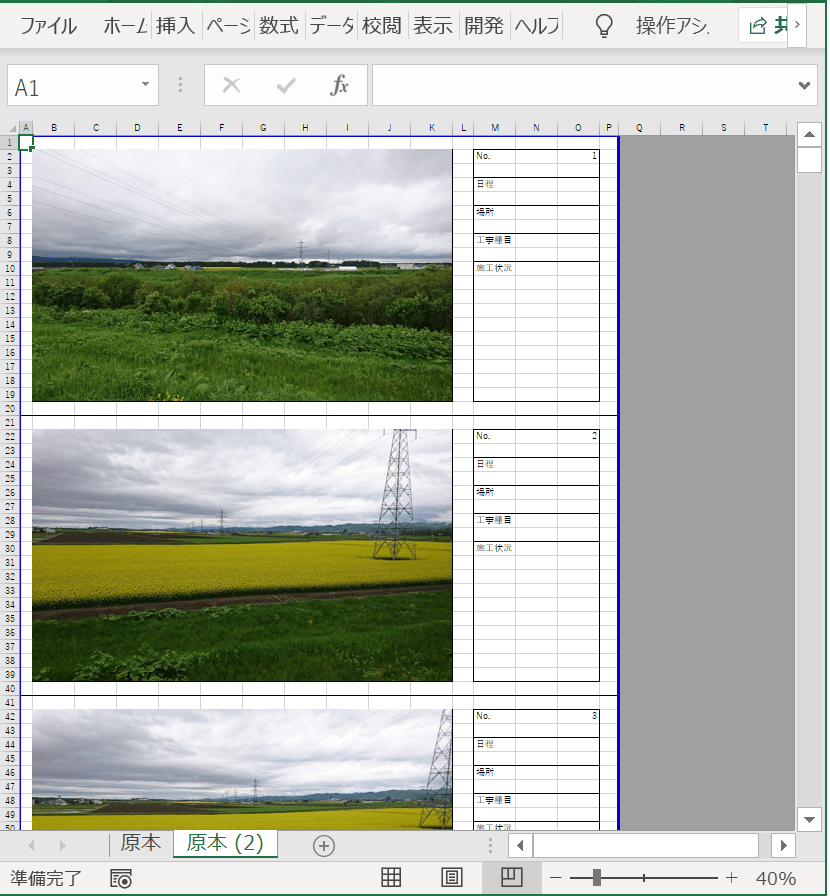
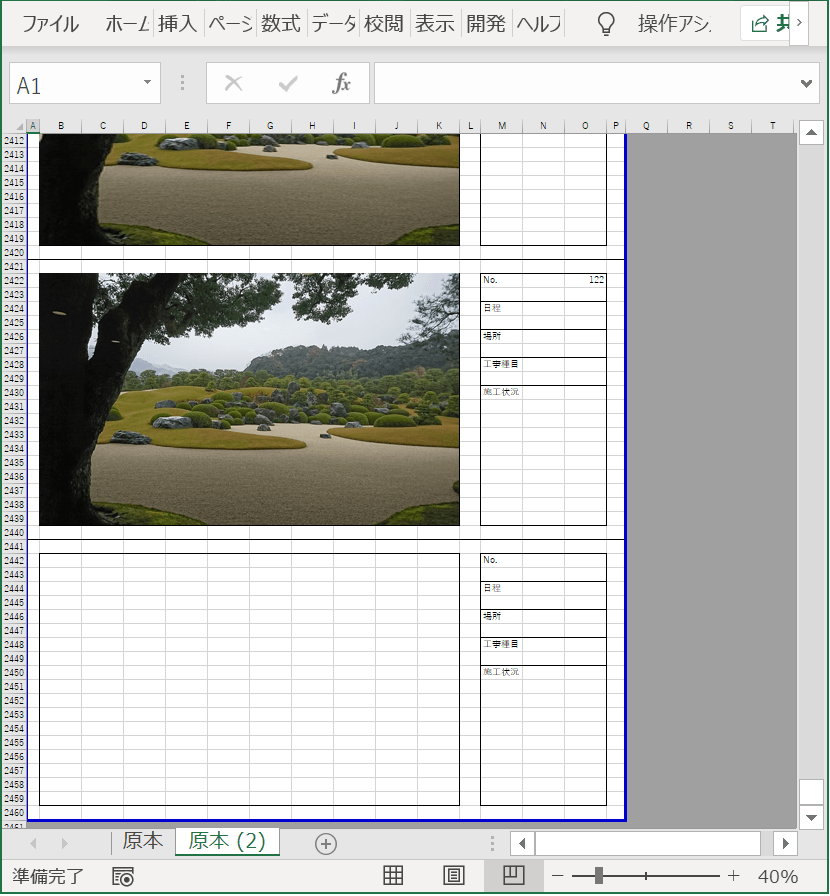
実行前

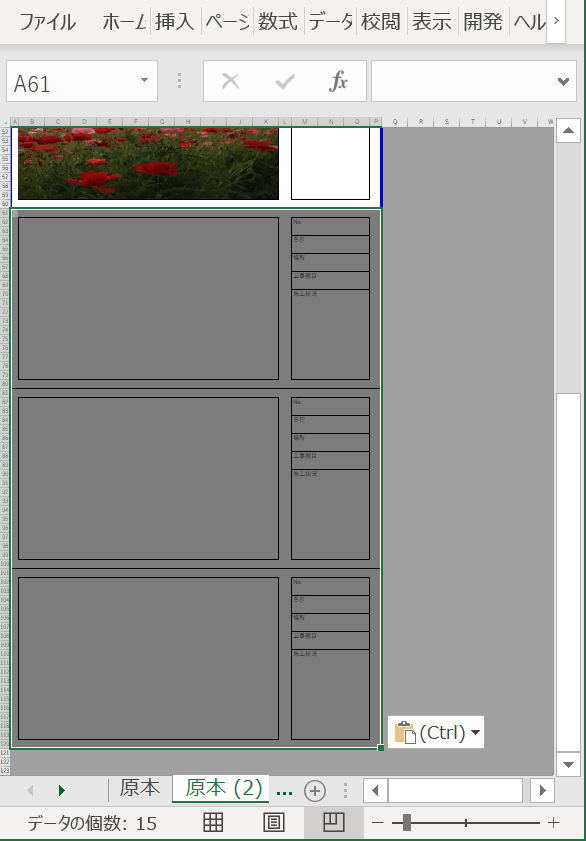
実行後

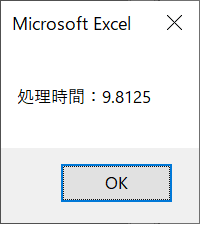
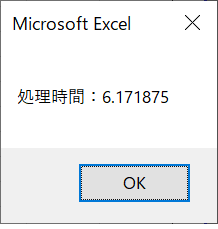
実行内容
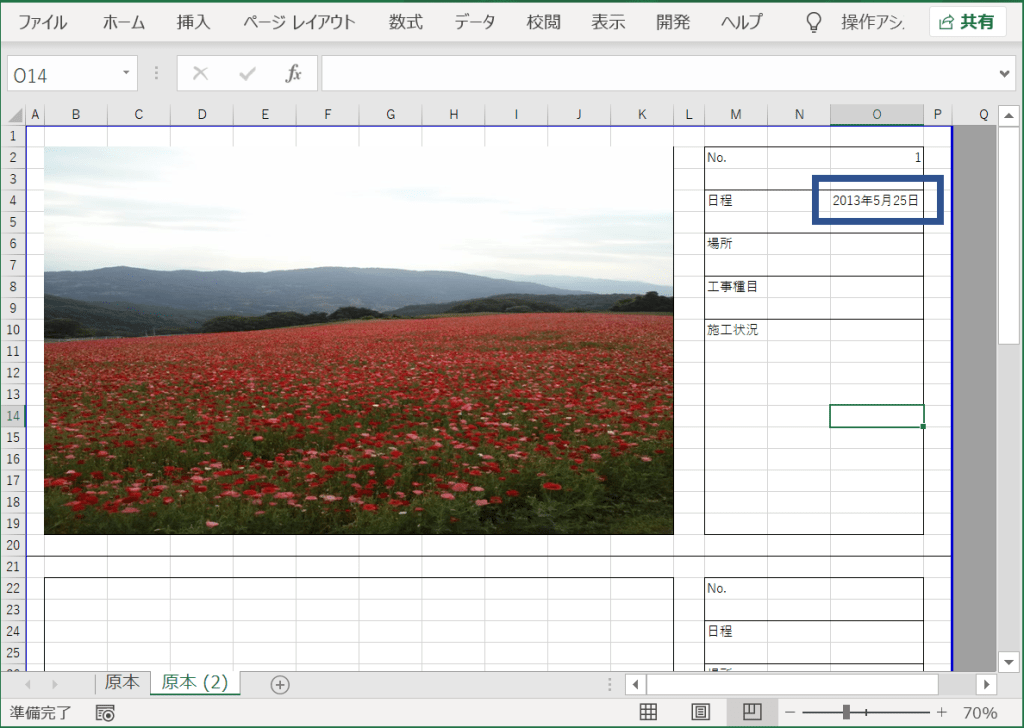
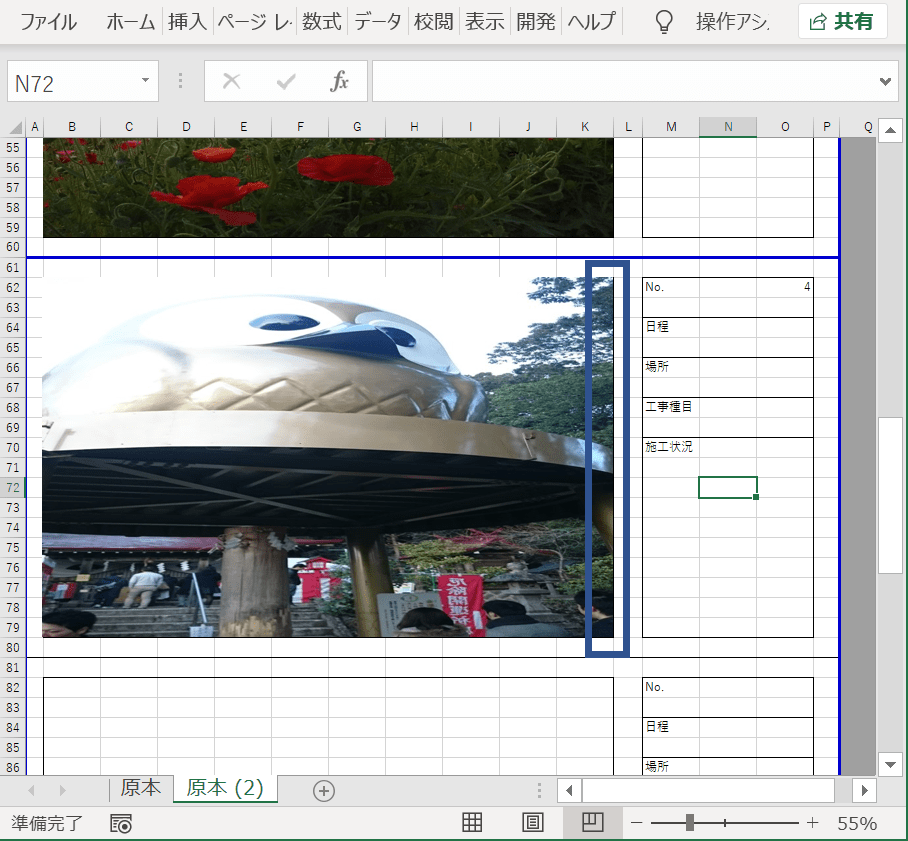
結合したセルに、写真の縦横比を固定した状態で貼り付けています。
写真の大きさは結合したセルの高さに合わせるように設定しています。
写真貼り付け押下時の処理内容
Sub 写真貼り付け_Click()
'ループ関数を設定
Dim i As Integer
Dim currentRow As Integer
Dim FileName As Variant
Dim dblscal As Double
Dim str As String
'撮影日
Dim day As Date
Dim ObjShell As Object
Dim ObjFolder As Object
Dim filePath As Variant
Dim file As Variant
'写真位置設定用変数
Dim photoCell As Range
Dim shpTemp As Shape ' 一時的な Shape オブジェクト参照用
'写真の一覧を取得
FileName = Application.GetOpenFilename( _
filefilter:="画像ファイル,*.bmp;*.jpg;*.gif;*.JPG", _
MultiSelect:=True)
'写真ファイルを選択しなかった場合は処理を終わらせる
If Not IsArray(FileName) Then Exit Sub
'処理中画面描写をしない
Application.ScreenUpdating = False
'印刷範囲の初期設定
str = Range(Cells(1, 1), Cells(60, 16)).Address
'原本シートのコピーを末尾に追加
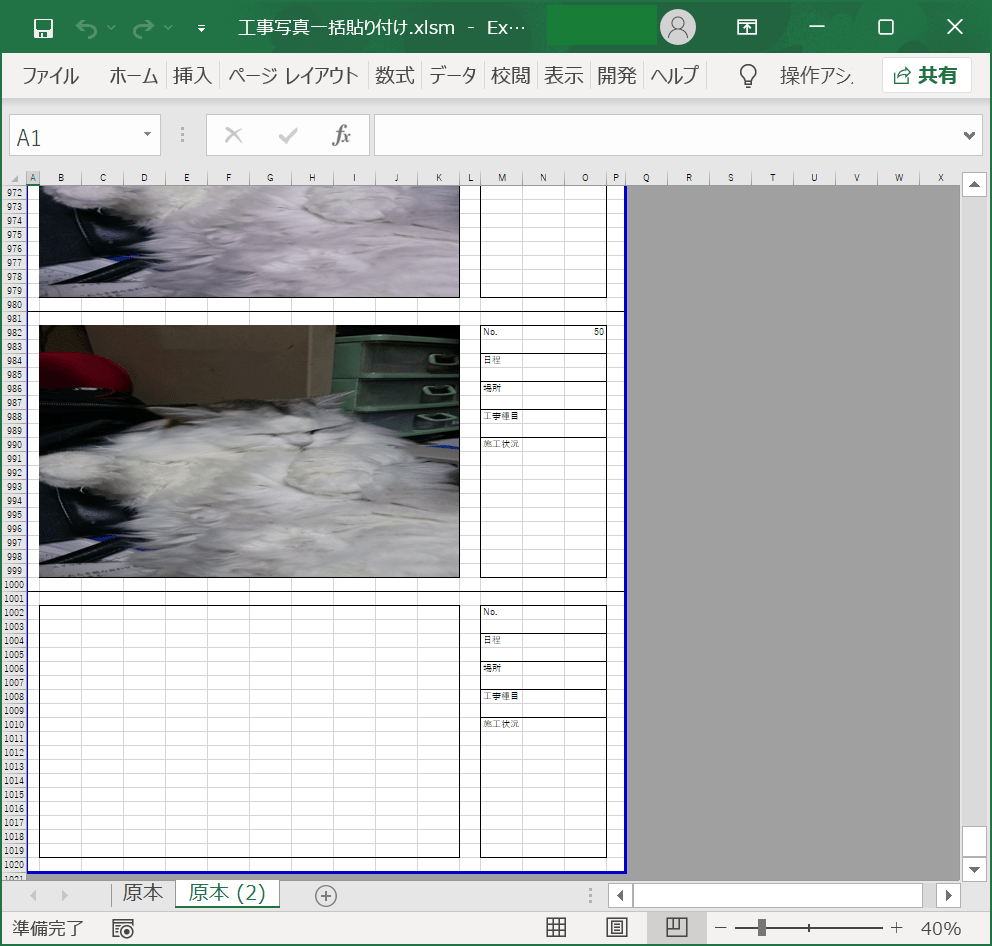
Worksheets("原本").Copy After:=Worksheets(Worksheets.Count)
'ボタンを削除
On Error Resume Next ' エラーを無視して続行
ActiveSheet.DrawingObjects.Delete
On Error GoTo 0 ' エラー無視を解除
'シェルの機能の参照
Set ObjShell = CreateObject("Shell.Application")
' 初期位置設定
currentRow = 2
'取得した写真リストをセルに貼り付け
For i = LBound(FileName) To UBound(FileName)
' 3枚ごとに新しいページを作成
If i <> 1 And i Mod 3 = 1 Then
Worksheets("原本").Range(str).Copy
Cells((i \ 3) * 60 + 1, 1).PasteSpecial
Application.CutCopyMode = False
ActiveSheet.HPageBreaks.Add before:=Cells(((i \ 3) * 60) + 1, 1)
currentRow = ((i \ 3) * 60) + 2 ' 新しいページの開始行
End If
' B2セルを選択(このセルは既に結合されていることを前提)
Set photoCell = Cells(currentRow, 2) ' B列 (2)
' 結合セルの範囲を取得(結合済みの場合)
Dim mergedRange As Range
If photoCell.MergeCells Then
Set mergedRange = photoCell.MergeArea
Else
' 結合されていない場合は警告を表示
MsgBox "セル " & photoCell.Address & " は結合されていません。"
Set mergedRange = photoCell
End If
'選択ファイル - 縦横比を保持して貼り付け
Set shpTemp = ActiveSheet.Shapes.AddPicture( _
FileName:=FileName(i), _
linktofile:=False, _
savewithdocument:=True, _
Left:=mergedRange.Left + 1, _
Top:=mergedRange.Top + 1, _
Width:=-1, _
Height:=-1)
'縦横比を保持
shpTemp.LockAspectRatio = msoTrue
' 結合セルの高さに合わせて写真のサイズを調整
shpTemp.Height = mergedRange.Height - 1
' 写真の位置を範囲の中央に調整
shpTemp.Left = mergedRange.Left + (mergedRange.Width - shpTemp.Width) / 2
shpTemp.Top = mergedRange.Top + (mergedRange.Height - shpTemp.Height) / 2
'写真の貼り直し
shpTemp.Select
Selection.Cut
ActiveSheet.PasteSpecial Format:="図 (JPEG)", Link:=False, DisplayasIcon:=False
' 写真の位置を調整
With Selection.ShapeRange
.LockAspectRatio = msoTrue
.Height = mergedRange.Height - 2
.Left = mergedRange.Left + (mergedRange.Width - .Width) / 2
.Top = mergedRange.Top + (mergedRange.Height - .Height) / 2
End With
Application.CutCopyMode = False
'Noに数を記入
Cells(currentRow + 1, 11 + 4) = i
'ファイルパスの取得
filePath = Left(FileName(i), InStrRev(FileName(i), "\"))
'ファイル名の取得
file = Mid(FileName(i), Len(filePath) + 1)
'写真データを参照
On Error Resume Next ' エラーを無視
Set ObjFolder = ObjShell.Namespace(filePath).ParseName(file)
'写真の撮影日を取得
If Not ObjFolder Is Nothing Then
day = ObjFolder.ExtendedProperty("System.Photo.DateTaken")
'写真のデータの参照を解放
Cells(currentRow + 3, 11 + 4) = Format(day, "yyyy年m月d日")
End If
Set ObjFolder = Nothing
On Error GoTo 0 ' エラー無視を解除
' 次の写真は20行下に配置
currentRow = currentRow + 20
Next i
'シェルの解放
Set ObjShell = Nothing
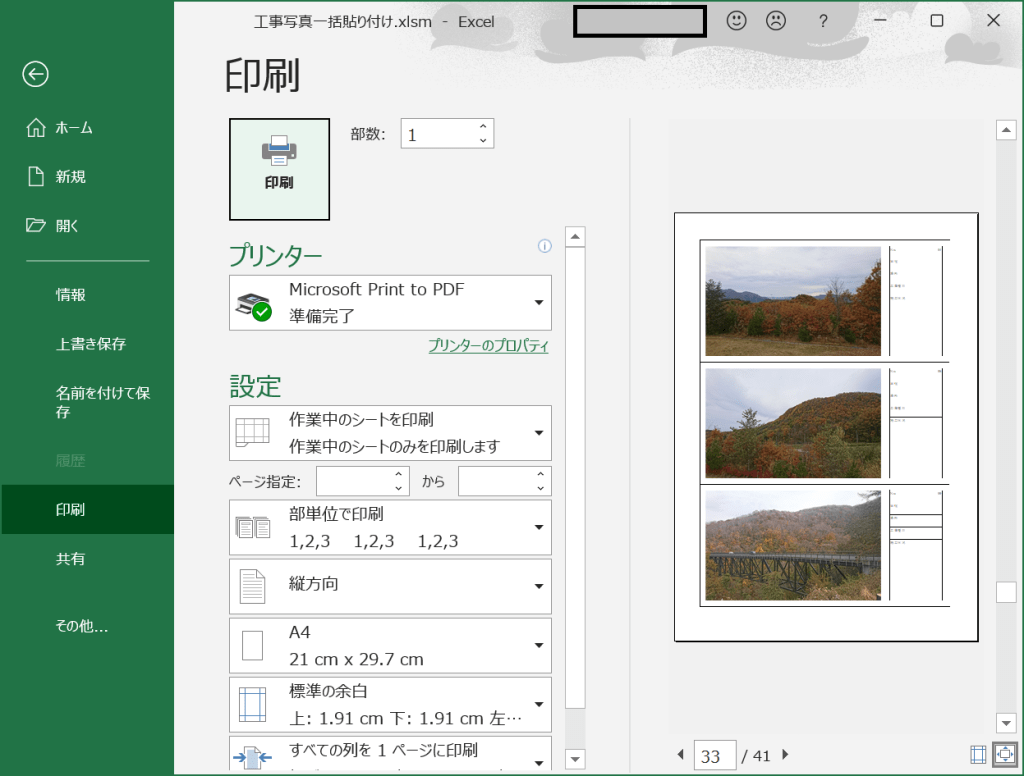
'印刷範囲を設定
Dim lastRow As Long
lastRow = ((UBound(FileName) - 1) \ 3 + 1) * 60
str = Range(Cells(1, 1), Cells(lastRow, 16)).Address
ActiveSheet.PageSetup.PrintArea = str
Cells(1, 1).Select
'画面描写を実行
Application.ScreenUpdating = True
End Sub写真の縦横比を固定する処理
        '選択ファイル - 縦横比を保持して貼り付け
        Set shpTemp = ActiveSheet.Shapes.AddPicture( _
            FileName:=FileName(i), _
            linktofile:=False, _
            savewithdocument:=True, _
            Left:=mergedRange.Left + 1, _
            Top:=mergedRange.Top + 1, _
            Width:=-1, _
            Height:=-1)

        '縦横比を保持
        shpTemp.LockAspectRatio = msoTrue
shpTemp.LockAspectRatio = msoTrueの処理で縦横比を固定しています。
msoTrueがmsoFalseになると縦横比は固定されません。
結合したセルの高さに合わせて写真の大きさを変更する処理
        ' B2セルを選択(このセルは既に結合されていることを前提)
        Set photoCell = Cells(currentRow, 2)  ' B列 (2)

        ' 結合セルの範囲を取得(結合済みの場合)
        Dim mergedRange As Range
        If photoCell.MergeCells Then
            Set mergedRange = photoCell.MergeArea
        Else
            ' 結合されていない場合は警告を表示
            MsgBox "セル " & photoCell.Address & " は結合されていません。"
            Set mergedRange = photoCell
        End If


       '~~~~~略~~~~~


        ' 結合セルの高さに合わせて写真のサイズを調整
        shpTemp.Height = mergedRange.Height - 1
shpTemp.Height = mergedRange.Height – 1 は
変数(今回は写真).高さ = 変数(今回は結合したセル).高さ – 1
のイメージです。
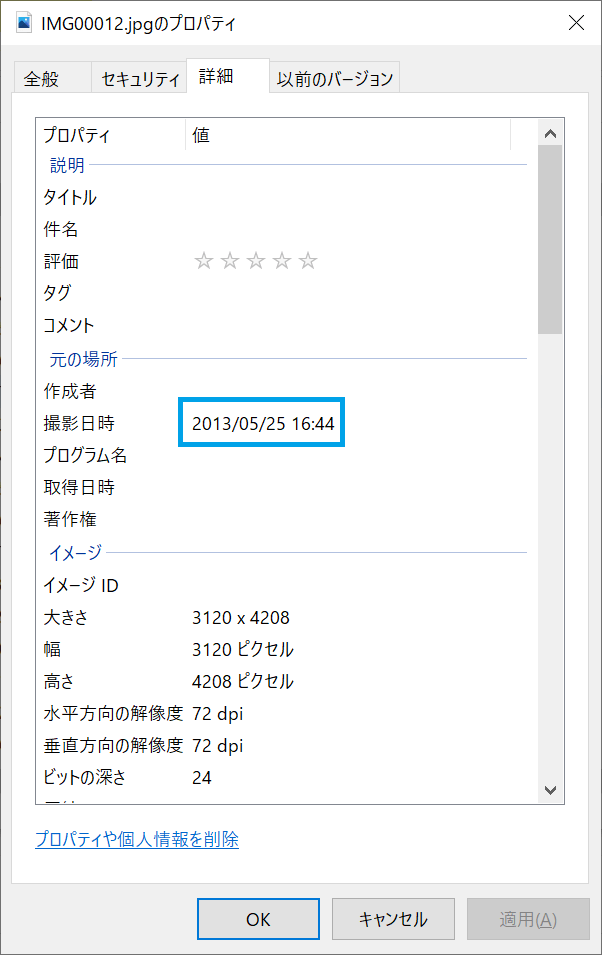
写真の撮影日付の取得処理について
        'ファイルパスの取得
        filePath = Left(FileName(i), InStrRev(FileName(i), "\"))
        'ファイル名の取得
        file = Mid(FileName(i), Len(filePath) + 1)

        '写真データを参照
        On Error Resume Next  ' エラーを無視
        Set ObjFolder = ObjShell.Namespace(filePath).ParseName(file)

        '写真の撮影日を取得
        If Not ObjFolder Is Nothing Then
            day = ObjFolder.ExtendedProperty("System.Photo.DateTaken")
            '写真のデータの参照を解放
            Cells(currentRow + 3, 11 + 4) = Format(day, "yyyy年m月d日")
        End If
        Set ObjFolder = Nothing
撮影日の取得処理が不要な場合は削除しても問題ありません。
Cells(currentRow + 3, 11 + 4) = Format(day, “yyyy年m月d日”)の行でセルに値を設定しています。コメントアウト(’←をコメントしたい行の先頭に追加)して頂ければ処理は実行されません。
処理内容は過去のブログの内容をご参考願います。
今回はセルを結合した状態で写真を一括貼り付けする処理を紹介させて頂きました。